Tag: 4×4

The Prosser Hill OHV Area

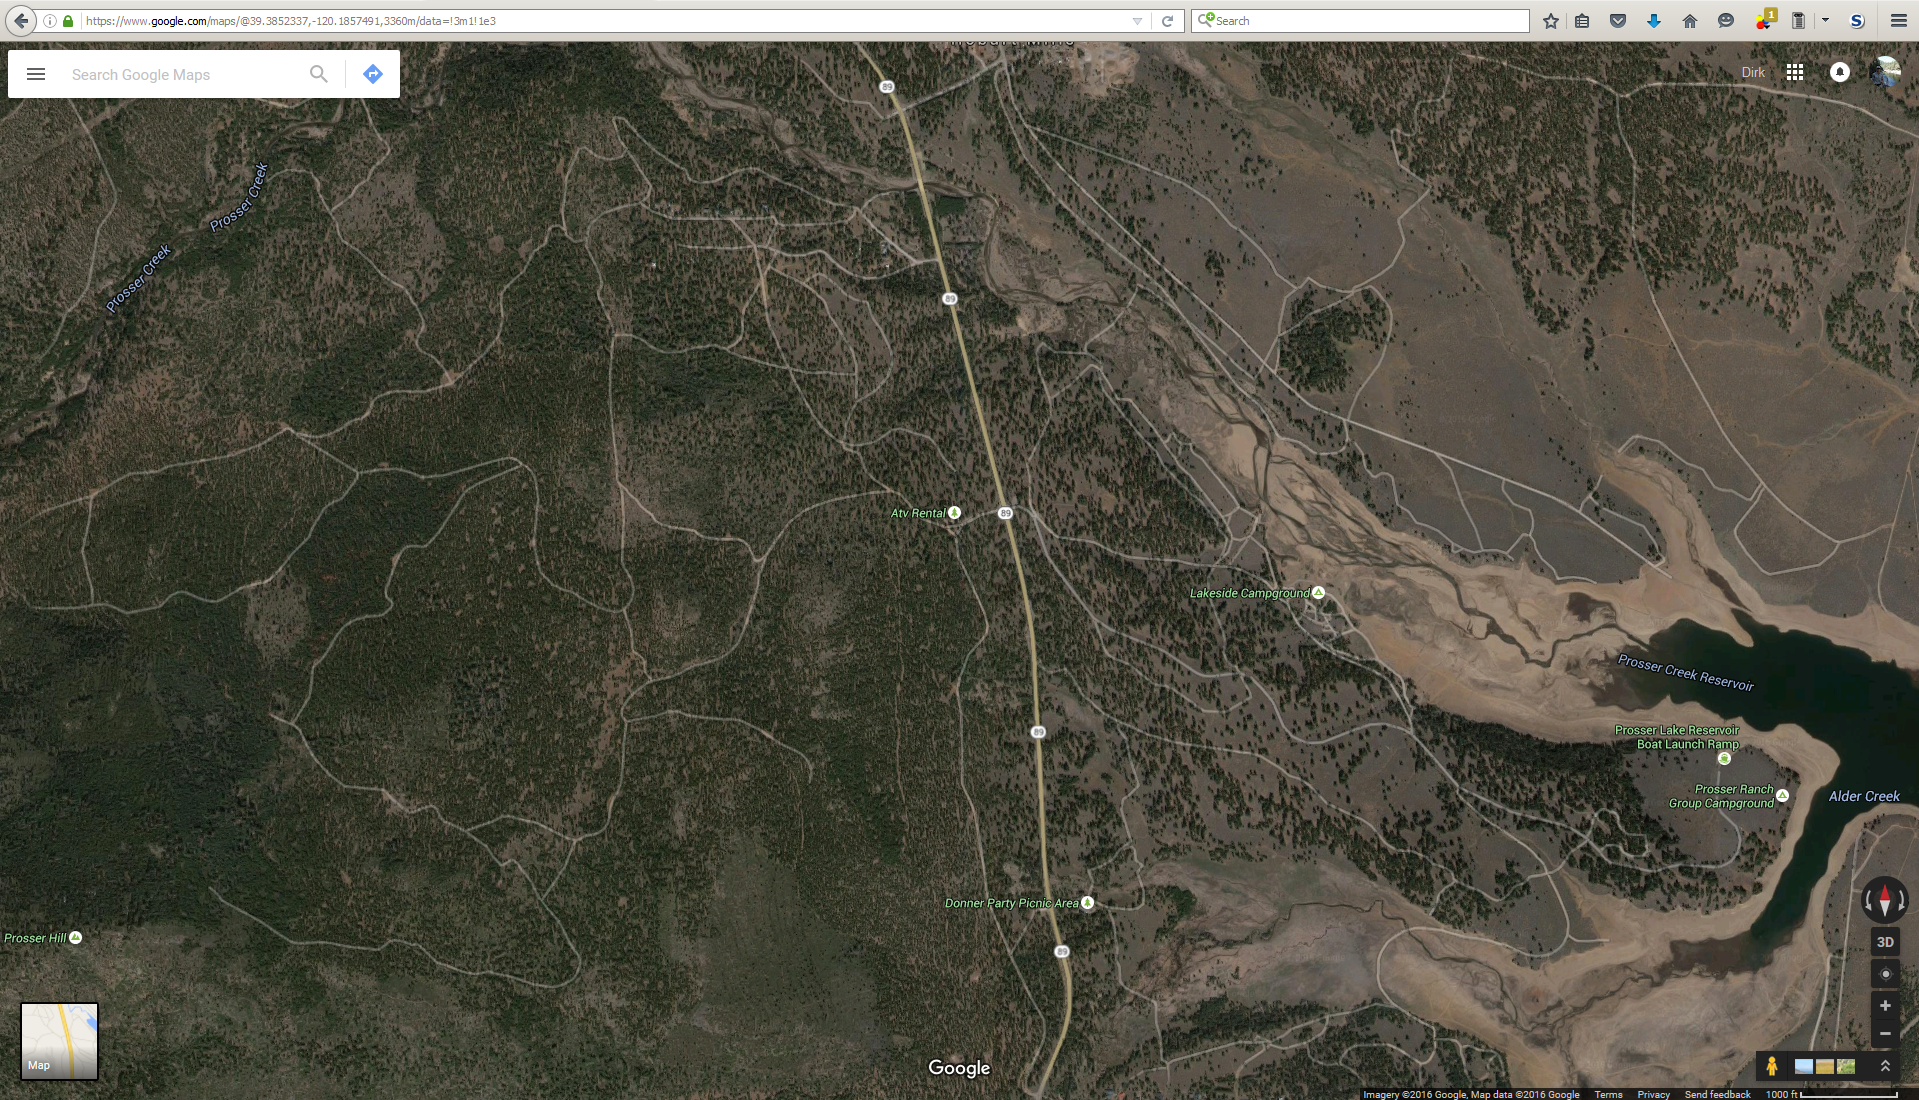
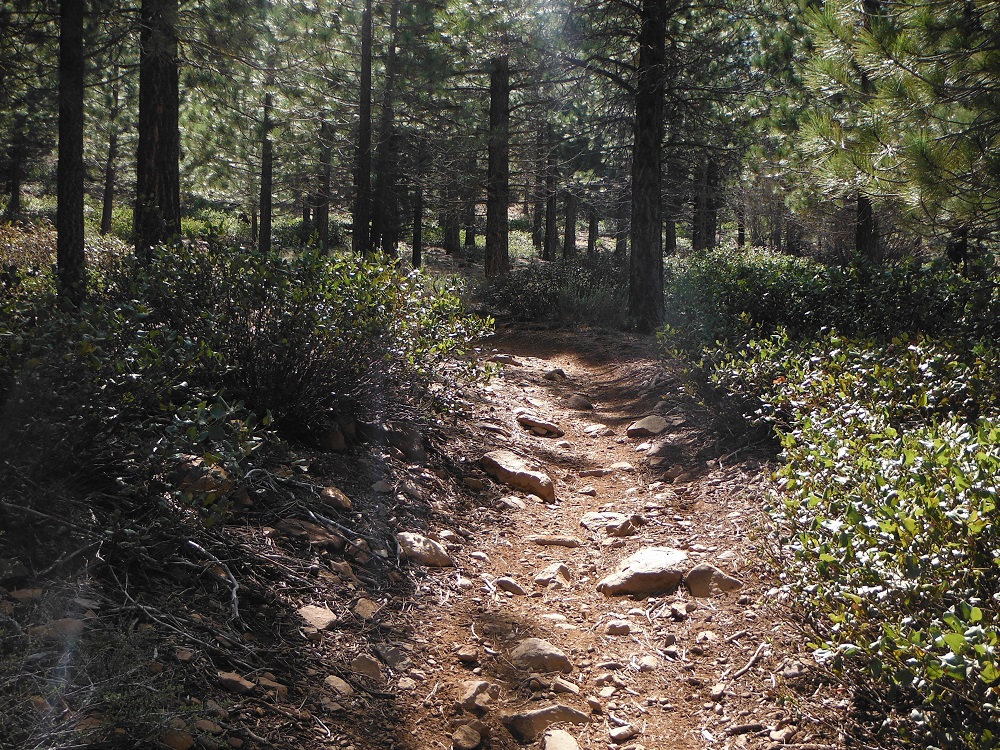
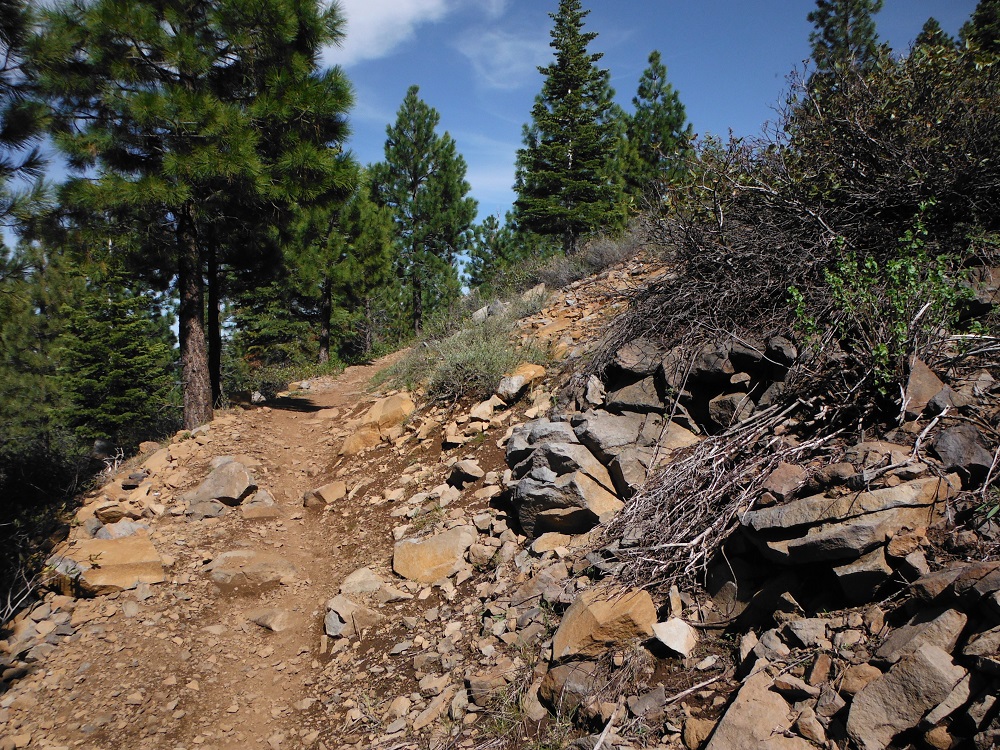
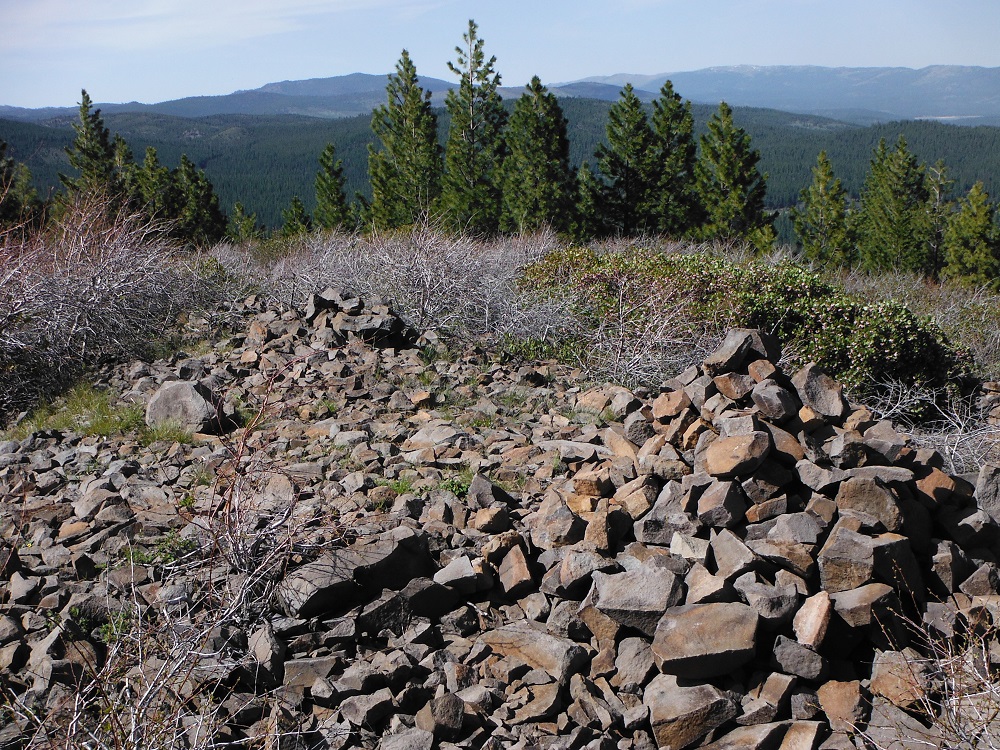
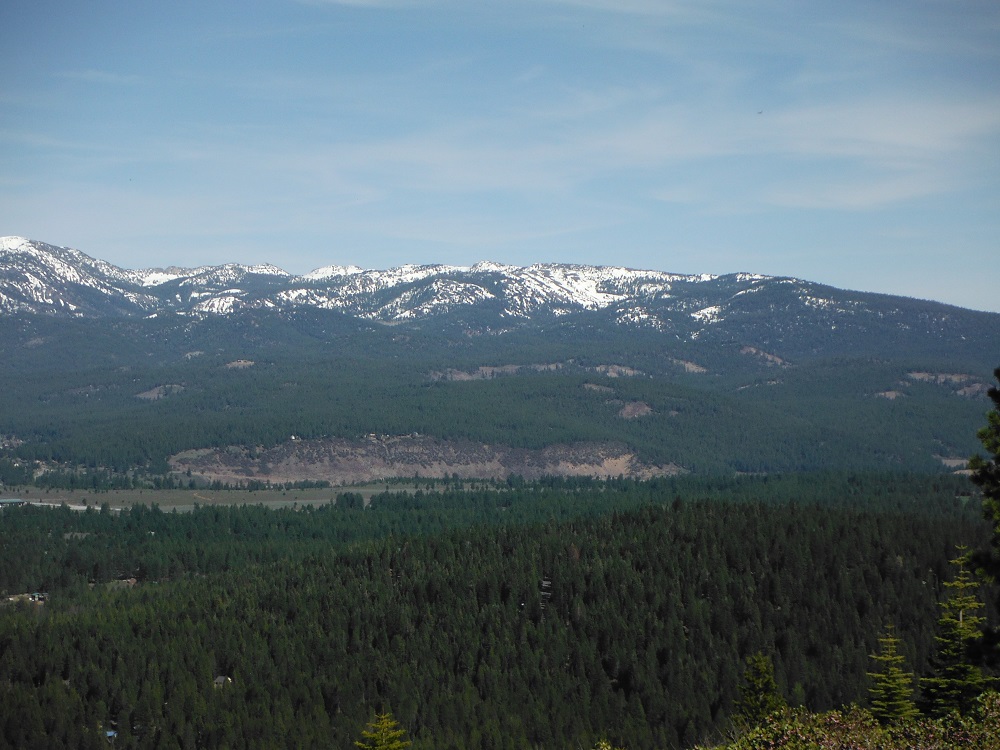
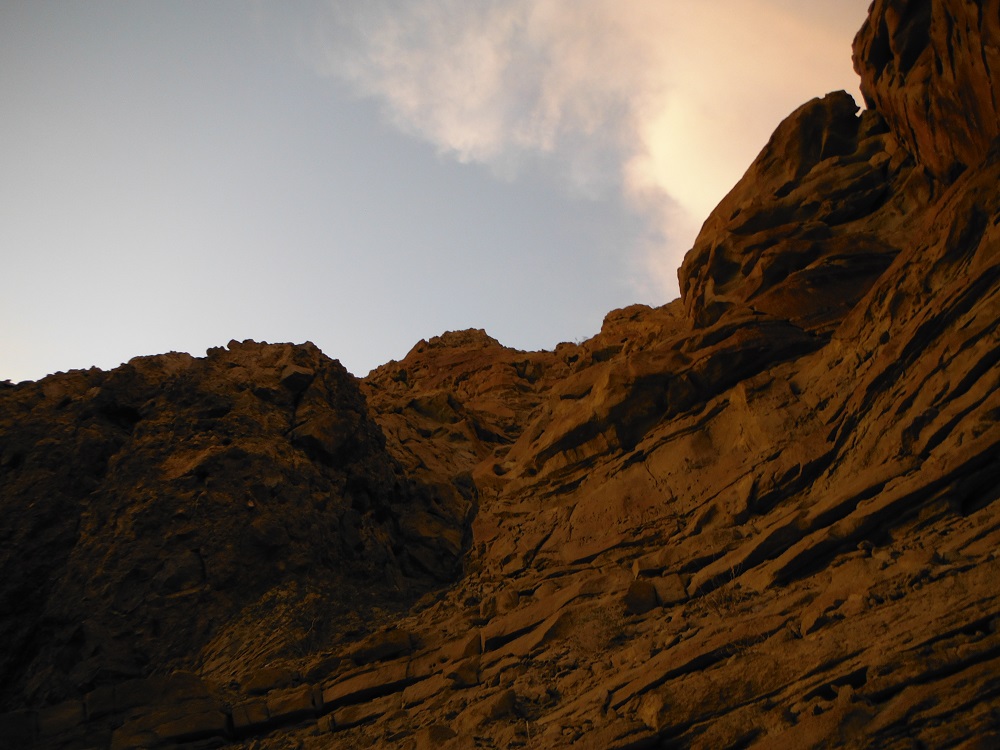
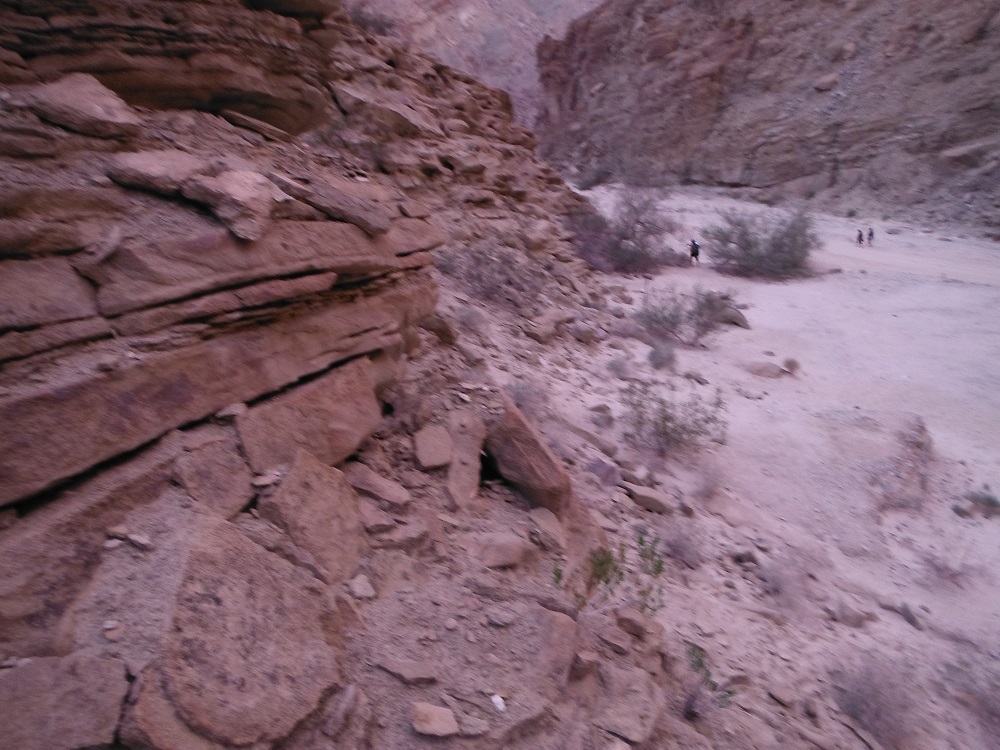
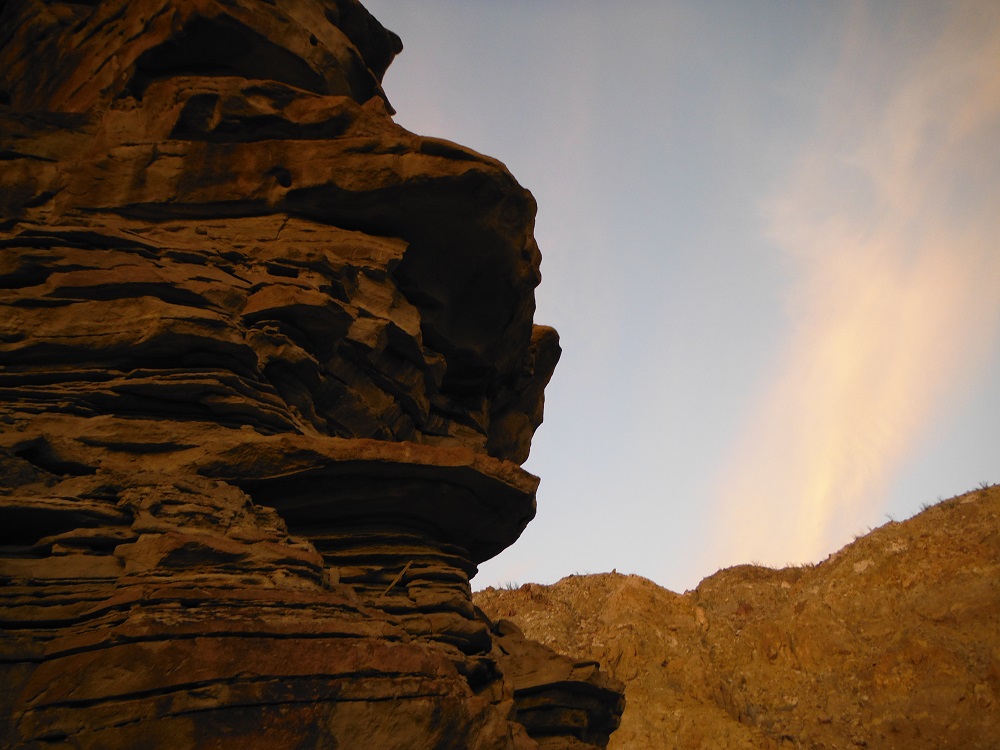
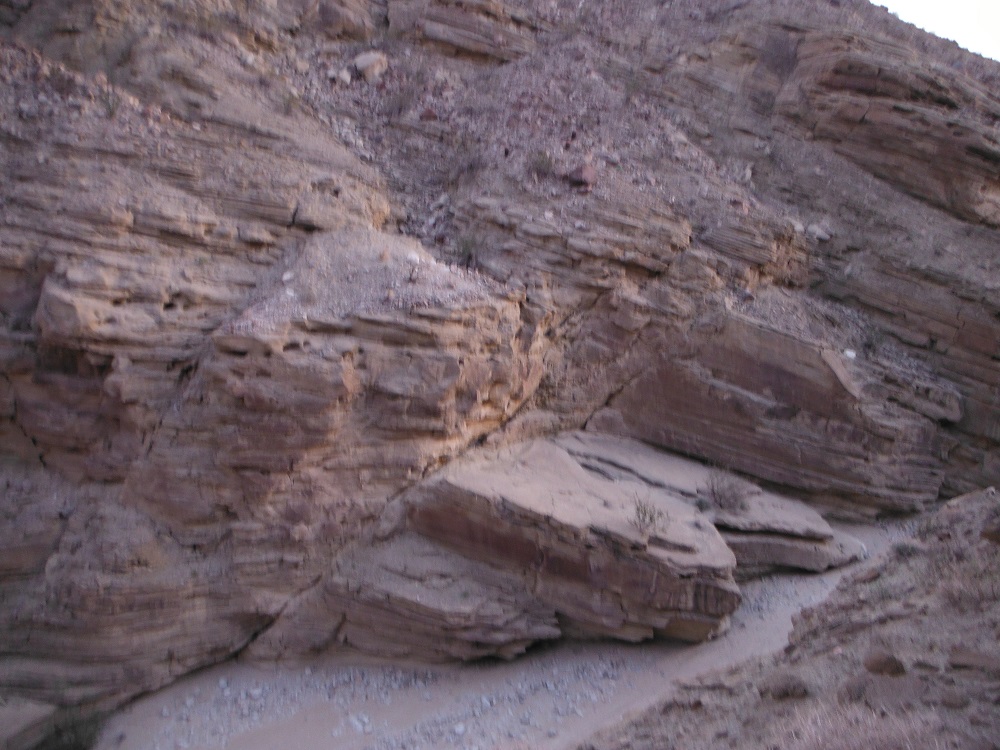
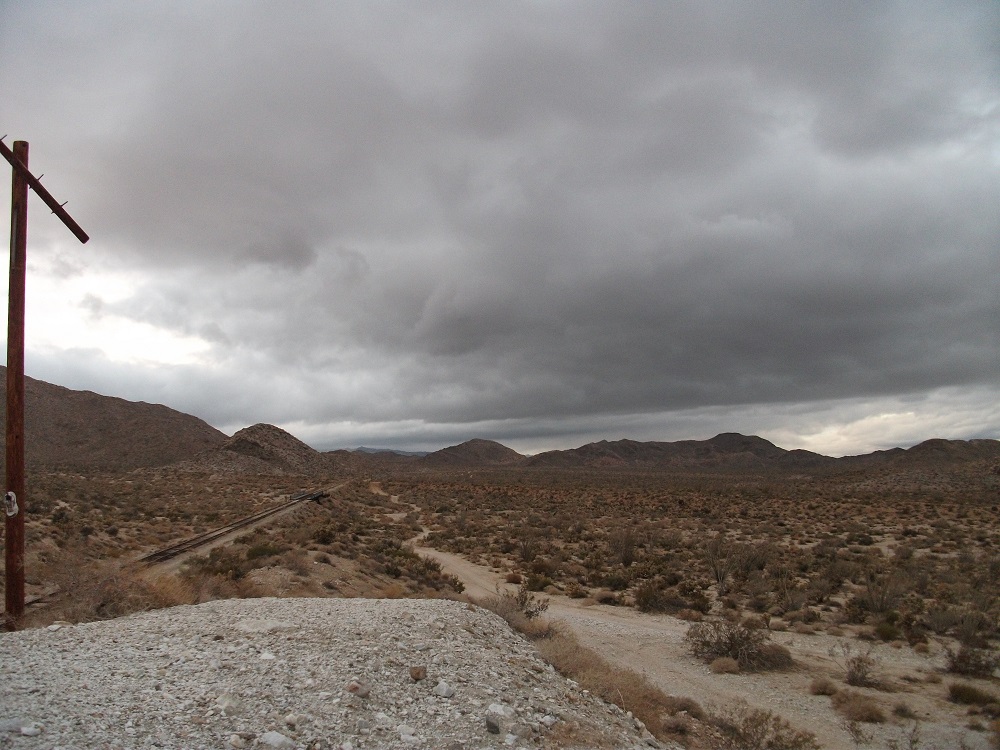
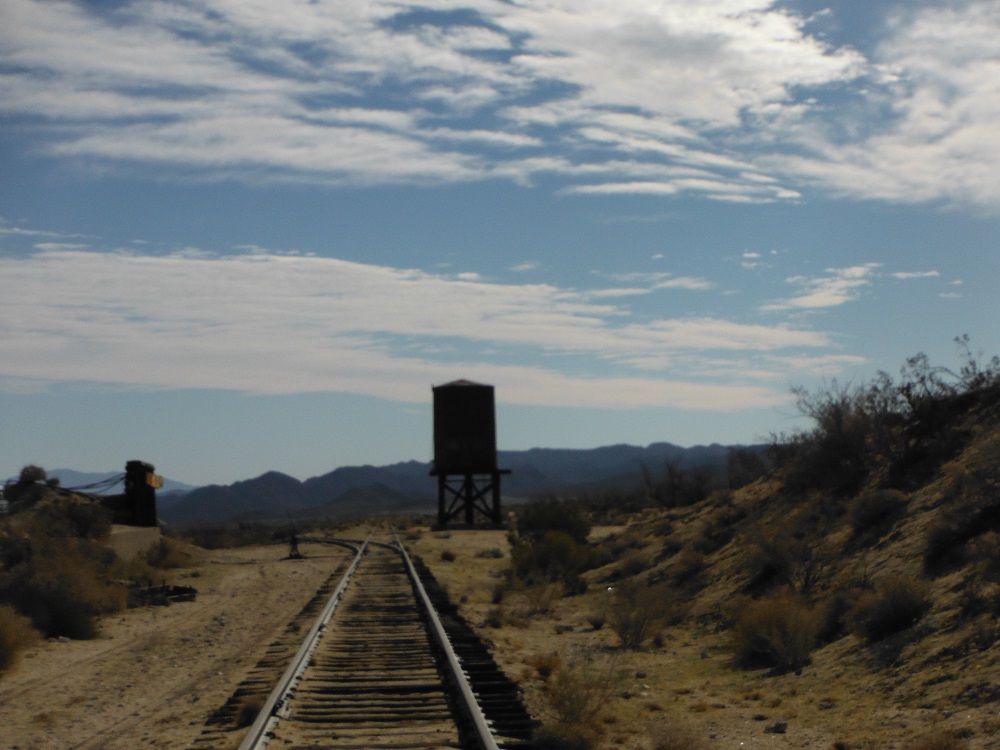
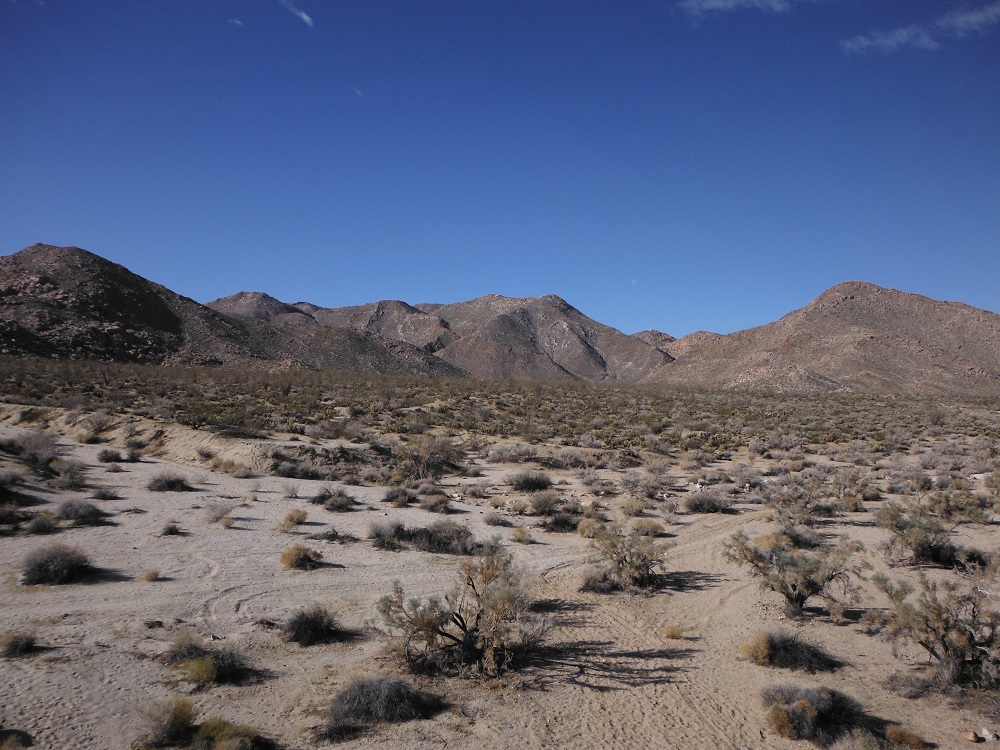
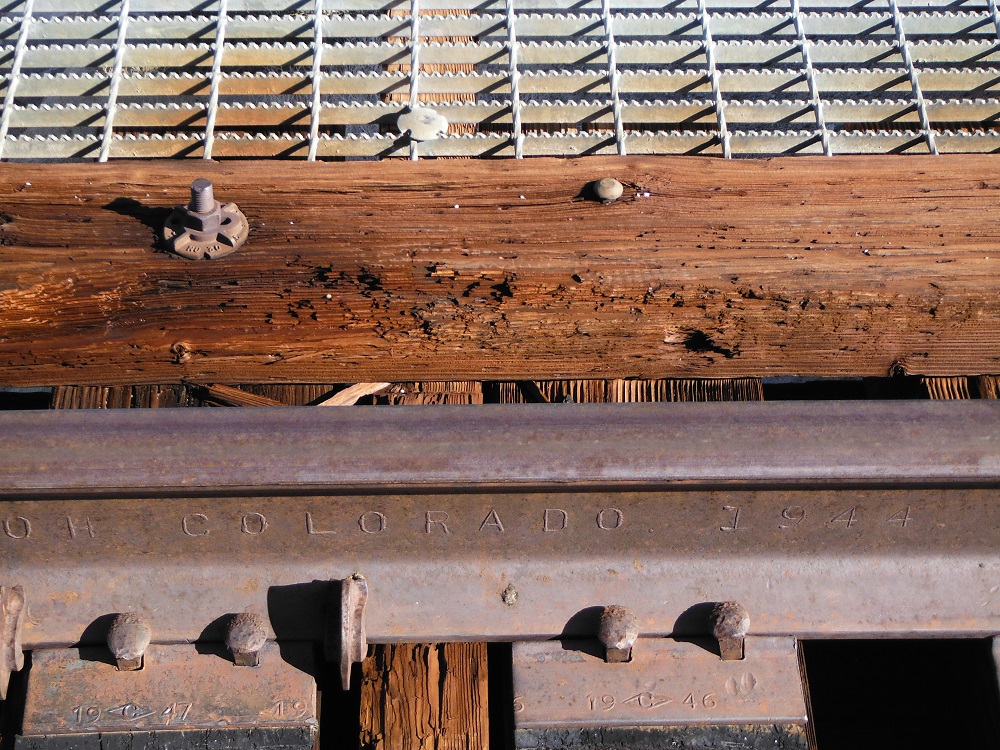
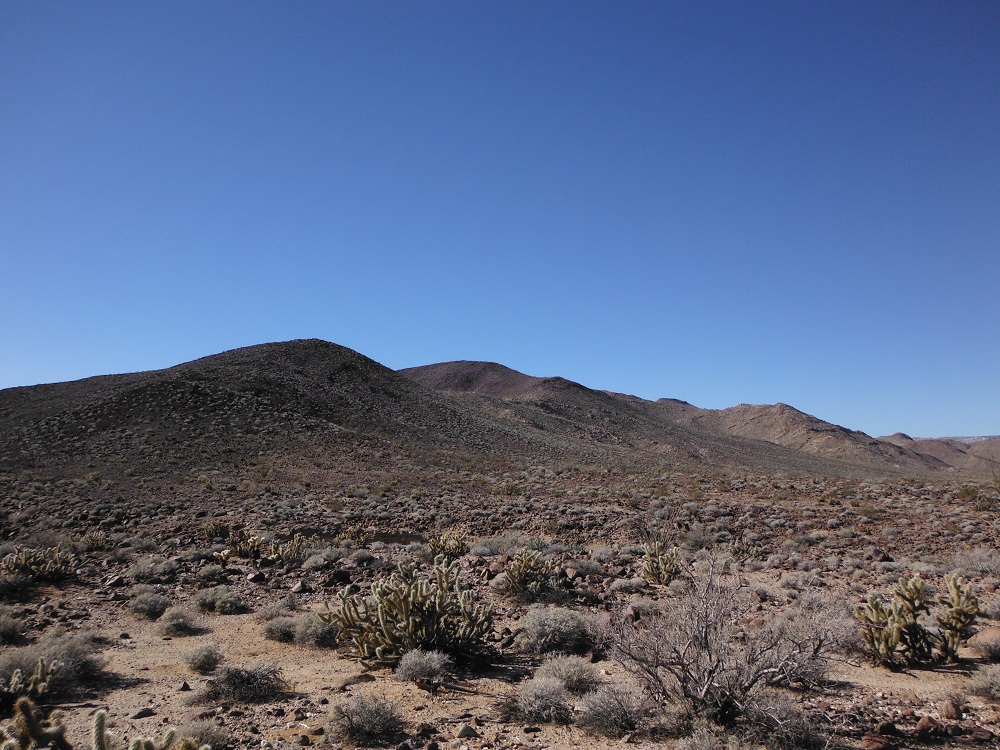
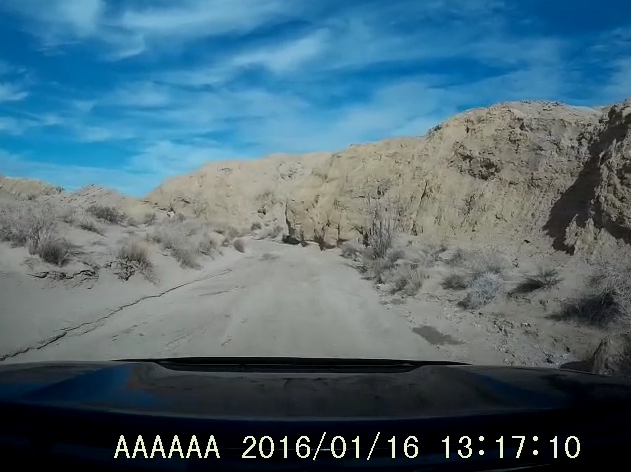
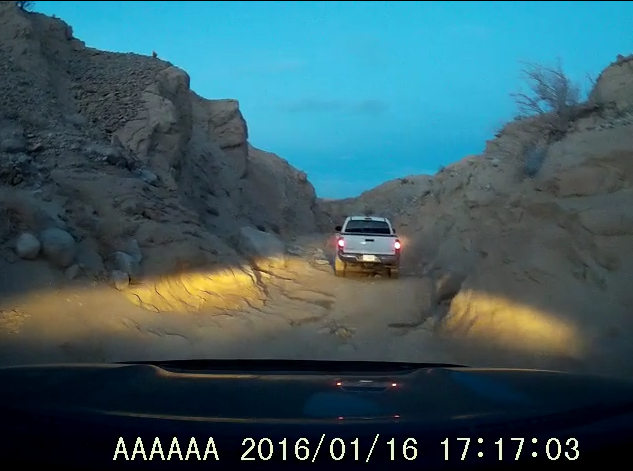
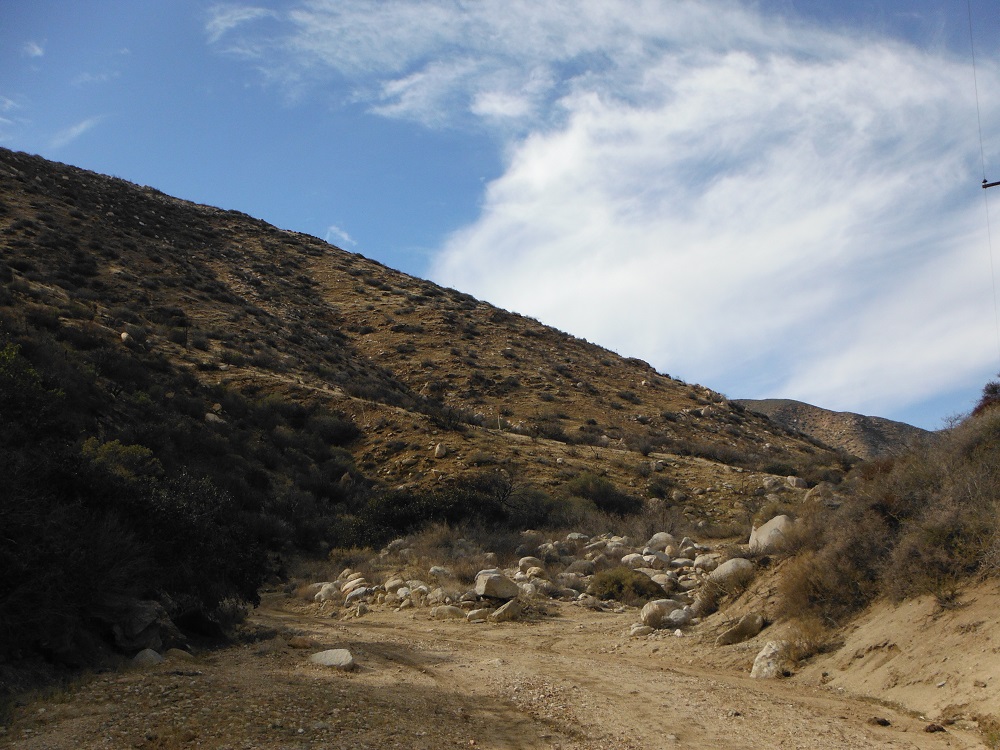
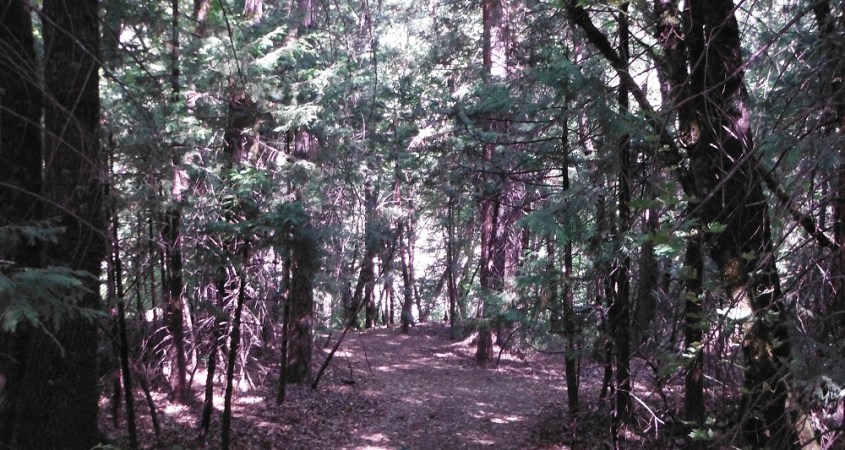
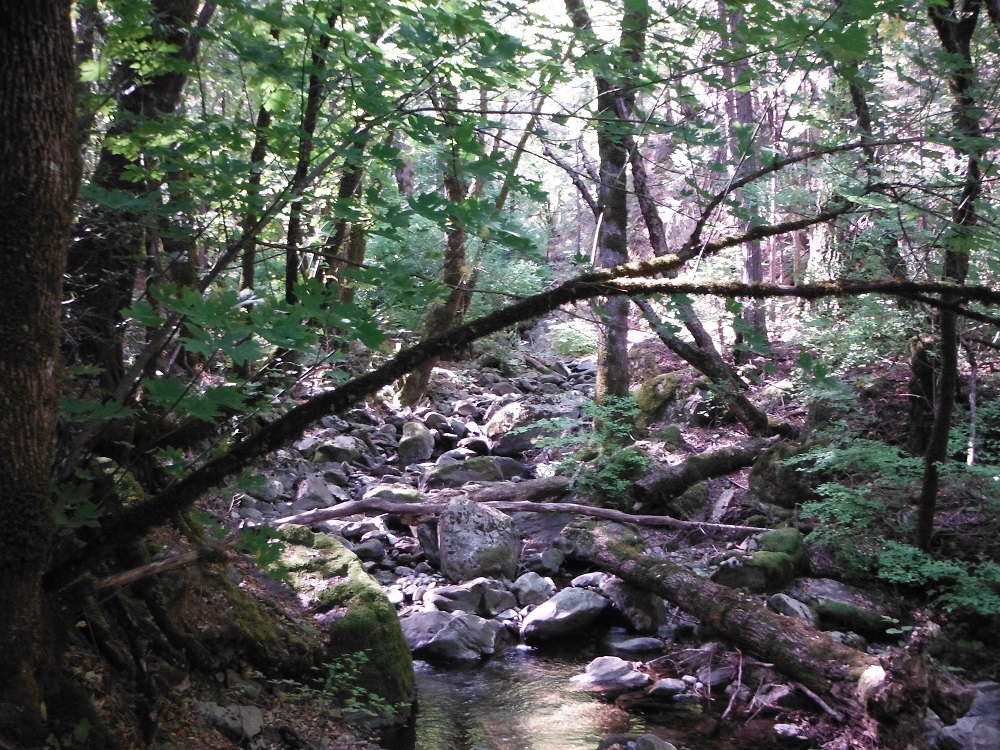
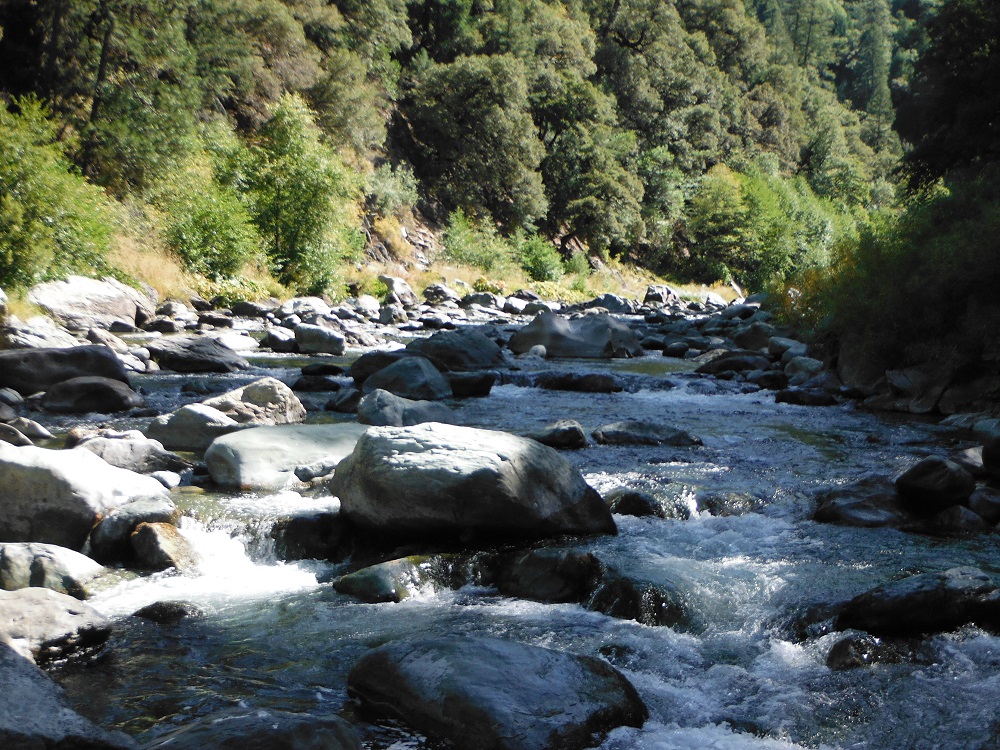
I decided to head up north for some time off again and here’s the start of the trail videos and pictures I captured. The Prosser Hill OHV Area is northeast of Truckee, CA. The staging area is approximately two miles north of the CA-89/I-80 junction on the west side of CA-89. The trails upon which trucks and 4x4s may tread are all relatively easy but are tight in some spots. Any truck or 4×4 with some ground clearance could make it through the area though full-size trucks will get some (a lot) of pinstripes. Google Maps labels the staging area as “Atv rental” for some reason I’m not certain of; the only thing there is a small parking lot and a couple of toilets. The area has numerous hiking and biking trails which offer amazing views of the surrounding area. As always, enjoy the videos and photos and find the rest of them here!

prosserhill1


DSCF7405    DSCF7431    DSCF7490    DSCF7495

Recovering a broken Tacoma

I was driving through EC 193 and then turned onto Fish Creek east in Anza-Borrego Desert State Park and passed by a couple of Tacoma owners. I decided to stop when I saw that one of them was having some major problems. Once I got close to it I could see that he had broken the bead on the right-front tire and snapped his passenger side tie-rod. He was going approximately 40 MPH through the wash when he swerved to miss some oncoming trucks and hit an embankment. We did what we could to keep the tire from moving freely but we had no solid object to pin it with. It was a long and slow 12 miles to a solid trail where the help he called from San Diego could take care of him.

Approximately where I found the broken Taco at:

EC 193 close     EC 193

I dropped the broken Taco off at the juction of the railroad and EC 193:

trestle

The repetitive slapping sound you hear at some points of the video is the right-front tire hitting the cab and frame. No matter though, 401 ft-lbs was able to drag the broken Tacoma through mud. It just took some gentle tugs.

Installation of the ARB RD-146 Air Locker

So many things to type up about, so little time. Today, I’m just going to post up about the ARB RD-146 air locking differential that was just installed in the Toyota 10.5″ rear axle of my Tundra. This axle is incredibly strong and better than any custom build Ford 9″ or Dana 60 that Tacoma owners sometimes install on their trucks. The ARB differential case alone weights about 58 pounds and is much more substantial than the already massive stock case. It’s also a four-pinion design instead of a two-pinion. The ARB RD-146 is simply an engineering marvel.

Stock differential case
Here's the ARB
Here’s the ARB

I went with the compact compressor ARB offers (CKSA12) due to the space that the twin compressor would take up. The compressor is mounted in the driver side frame rail with the suction tube and filter up in the engine bay next to the brake booster and master cylinder. The compressor and air locker actuation switches were mounted in stock blank locations and are connected directly to the battery through a fuse for circuit protection. Counting the work for installing the compressor and switches the total install time was about 12 hours. The equipment was installed by Speed Freek (A.K.A. Jason) of Vista, CA. I would highly recommend his services to anyone in San Diego or Orange counties. You can watch him perform the equipment installation or drop it off and ask as many questions (and take pictures) to your heart’s content. There are a lot of bad shops out there but this is a man that you can trust to put the necessary time in to ensure the job is done right or in very limited circumstances (re-gearing a clamshell or electrical work on European vehicles), admit to what he cannot do.

As always, enjoy the photos and share with your friends!

DSCF6916
Checking the backlash before moving forward.

DSCF6911    DSCF6917    DSCF6918    DSCF6919  DSCF6922    DSCF6924    DSCF6929    DSCF6933

DSCF6934
Setting the backlash with the ring and pinion on the ARB to 0.0075″, just like before.

DSCF6935    DSCF6936    DSCF6939    DSCF6942 DSCF6943    DSCF6944    DSCF6945    DSCF6946 DSCF6949   DSCF6950    DSCF6954    DSCF6958 DSCF6960    DSCF6964    DSCF6965    DSCF6967

Not actually related to the differential installation, but still pretty useful.

Gold Valley and Gold Lake

The Gold Valley area can be reached from the north by taking CA-89 (Graeagle is the closest town of any significance) and heading west towards Graeagle-Johnsville Road. From the south CA-49 can be used to reach Gold Lake Highway. From the Guide to Northern California Backroads and 4-Wheel Drive Trails by Charles A. Wells (Mr. Wells has since converted his separate California books into a single book):

From Auburn and Grass Valley, take Hwy. 49 north and east past Downieville and on to tiny Bassetts. From Truckee, take Hwy. 89 north to 49 then go west to Bassetts. From Bassetts Station, take Gold Lake Highway west then north about a mile and a half. Turn left over a bridge following signs to Sardine Lake. After 0.2 miles turn right towards Packer Lake. Go another 2.7 miles and turn left. Climb uphill until you reach Packer Saddle at the top of a ridge in another 1.6 miles. You’ll continue straight on a gravel road for Gold Valley Trail. Deer Lake Trail is to the right and Sierra Buttes Lookout is left on the paved road.

The area around Gold Valley (and the Tahoe National Forest in general) is simply astounding. I went here last September so there were no snow problems but obviously that’s a different case during the winter and early spring months. The trail happens to overlap with the Pacific Crest Trail in some spots so be sure to watch out for hikers and cyclists. As always, be sure to share these photos and videos with your friends. Enjoy!

Location of a campground by Gold Lake:

Gold_Lake_1    Gold_Lake_2

There are many more videos and photos of the area on the trail-specific page.

DSCF6157    DSCF6169    DSCF6172    DSCF6183


DSCF6193    DSCF6213    DSCF6188    DSCF6217

Fish Creek

I’ve documented an off-road jaunt through the Diablo Dropoff and Fish Creek already but this time I got more video. I started this trail about an hour before sunset so I actually have some video going all the way to the Wind Caves now. The first mile and a half after the Diablo Dropoff is tight and rocky with everything after that being pretty tame. Enjoy the videos!

fishpoint

The Wind Caves

The Wind Caves are in the eastern end of Anza-Borrego Desert State Park along Fish Creek. The closest paved road is Split Mountain Road just a few miles to the east. For detailed directions and trail descriptions look to my page on the Diablo Dropoff and Fish Creek. Most any vehicle should be able to reach the Wind Caves from the eastern end, provided you drive slowly and carefully. The geological formations in this area are simply mesmerizing. I’ll have to take some more photos of the area in the future but for now look for them on this page. Enjoy!

windcave

DSCF6723   DSCF6739   DSCF6721   DSCF6718

DSCF6705  DSCF6701    DSCF6700   DSCF6697

EC 119, 158, and West Mortero Wash

EC 119 (also known as Dos Cabezas Road) is one of the many trails winding through Anza-Borrego Desert State Park. I-8 or CA-78 can be used to reach S-2 which is the nearest paved road. The junction between I-8 and S-2 is about four miles to the southeast of where this trail begins. The San Diego and Arizona Eastern Railway runs along this trail and there’s even an abandoned rail station along the route. EC 158 branches off of EC 119 and heads back east to S-2. The views of the desert, mountains, and gorges are simply stunning. Be wary of illegal immigrants and smugglers; do not go hiking along the tracks.

Location

doscabezos

EC 119

DSCF1008 DSCF1013 DSCF1015 DSCF1018 DSCF6534 DSCF6549 DSCF6553 DSCF6557

West Mortero Wash

Find the rest of the photos and video footage here. Enjoy!

Note: Sometimes, the truck doesn’t come out unscathed.

DSCF6622 DSCF6623   DSCF6624

Vallecito Creek, Arroyo Seco, and the Diablo Dropoff.

Vallecito Creek is just one of the many washes that pass through Anza-Borrego. It can be reached from the west via S-2 and is about 20 miles north of I-8. It can also reached from the east via the many trails that connect to it. Vallecito Creek heads east and reaches Arroyo Tapaido. Arroyo Tapaido either heads north to a dead end or loops back around south to reach Arroyo Seco del Diablo. The Diablo Dropoff and Fish Creek jut off to the east and eventually lead you towards Split Mountain Road and Ocotillo Wells. I didn’t take any separate photos of some of these trails but rather just took screenshots of the video to give you an quick idea of the environment. Look for all of the corresponding videos and pictures in the links below. Enjoy!

Vallecito Creek

Arroyo Seco del Diablo

The Diablo Dropoff and Fish Creek

diablopoint  fishpoint

Vallecito_4 Vallecito_2 Diablo Diablo_3

DSCF2656
It can get narrow…


Rodriguez Canyon

Rodriguez Canyon is an easy trail southeast of Julian, CA. Rodriguez Canyon can be accessed from the northern end from CA-78 at the end of Banner Grade or from the south along S-2 (north of mile post 27). Rodriguez Canyon runs to the parallel and to the eastern side of Oriflamme Canyon. This trail is of slightly moderate difficulty; any good truck or 4×4 with some ground clearance will make it through with no problem. At the time I went through there was no snow though it is possible for some to accumulate. There are a number of private roads and land around the area so be careful not to trespass. Enjoy the photos and video footage and look for the rest of them here! I’ve also started a build page for the Toyota Tundra that I recently purchased for any who are curious.

DSCF6256 DSCF6261 DSCF6294 DSCF6314 DSCF6318 DSCF6319 DSCF6343

DSCF6356


Stag Point

Stag Point is in the Foothills of Northern California northeast of Yuba City off of F.S. Highway 120. The actual trail leading to Stag Point is only a few miles long. To reach this trail: head left following signs for the Little Grass Valley Reservoir, continue north, drive over the dam, turn left onto F.S. 94, stay on F.S. 94 until a right turn appears for 22N72, and stay left until the trailhead is reached. The trail quickly gets steep as it descends about 3,000 feet with tight and narrow switchbacks.

I didn’t take any photos along the trail to Stag Point and forgot to save the video (from my dashboard camera) in time to prevent it from being over-written by proceeding loops. There are a couple of footpaths leading to the river both to the right and left of the campsite. It would be wise to bring insect repellent. Enjoy the photos! Click here to find the rest of them.

DSCF6091 DSCF6120 DSCF6132 DSCF6150