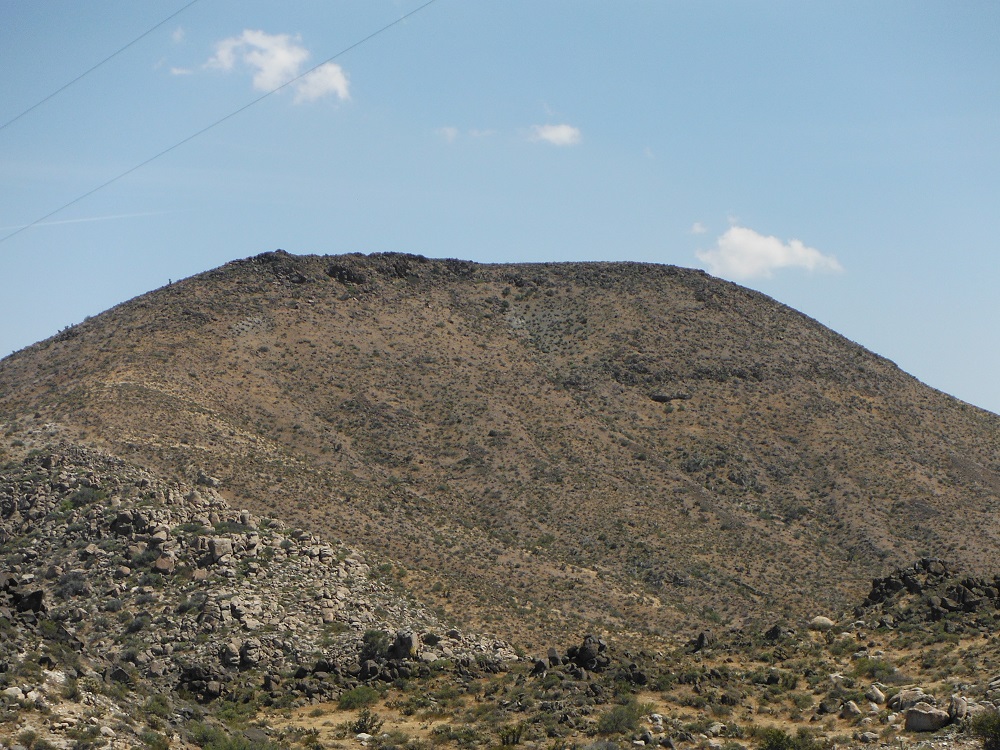
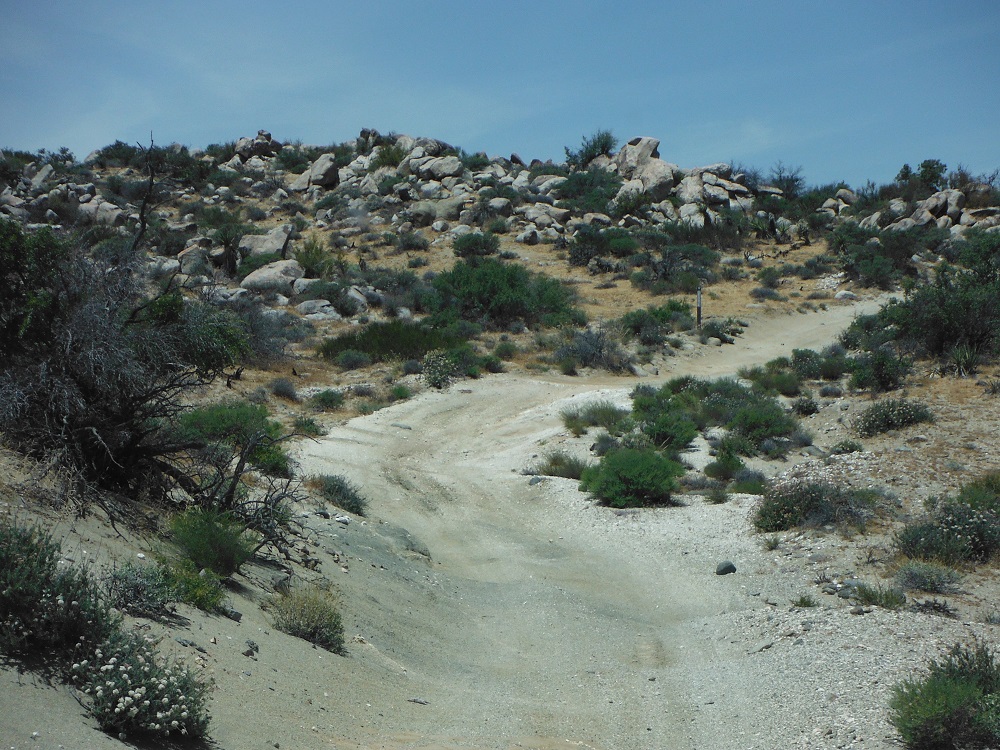
The Table Mountain area doesn’t have any hardcore rock-crawling. As long as your truck has decent ground clearance and you can pick a good line you will make it through the area. My nearly stock Tacoma made it through. A locking rear differential or a little lift in the front would have helped out greatly though. The Table Mountain network of trails in of themselves don’t extend to other roads unless you count some footpaths. The network of trails lead to some amazing views, though it can be hard to tell if you’re on a legitimate trail or not. A lot of the paths in the area are closed but aren’t marked very well. There’s not really any way to get lost in the Table Mountain area, just drive back the way you came once you hit a dead end or random fork with a camping spot. The trail was pretty empty the day I went, the only vehicle I passed was a first-generation Tundra. No one on dirt bikes or ATV’s to get into close calls with here.
To reach the Table Mountain area: drive along I-8 and exit at the In-Ko-Pah Road exit, head west along U.S.-80 and turn right onto a dirt road near the brake-check station. Enjoy the photos and find the rest of them here!
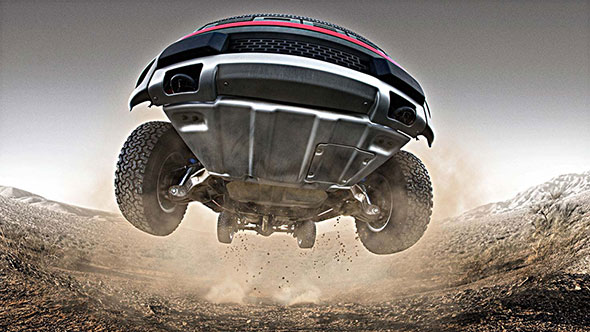
I recently read an article on Yahoo! Autos about the Ram Rebel that’s coming out soon. It’s pretty much just a Ram 1500 with some more expensive trim pieces, a one-inch lift, and 33″ Toyo A/T’s. The cheapest 4×4 version of this truck goes for $45,915 and this is for the V6 version. Stepping up to the V8 jacks the price up to $55,375. I simply don’t see how this truck can cost so much. I suppose that it looks nice on the inside and is slightly taller than a stock Ram 1500, but this much? It doesn’t come with a locking differential, the front CV axles are stock 1500 shafts, and any sticks that hit those stupid air bags will leave you sagging on the trail. I guess FCA is charging a lot for things like the kick-ass tread pattern in the seats, it certainly didn’t go towards using properly designed electronic control systems…
The Ram Rebel is showing that graded dirt road who’s boss…I suppose that this would be hard to de-badge.
I looked up how much a 2014 Ford F-150 Raptor cost new and the price turned out to be $44,995. The Raptor shows up with things like a bigger rear axle (Ford 9.75 vs. ZF 9.25), a locking rear differential, 3″ Fox coilovers, a LSD in the front, 35″ tires, longer axleshafts in the front, a V8, and doesn’t have air bags ready to be popped by any sharp sticks or brush. I can at least see where the money on a Raptor goes towards and it still looks good inside and out. If you wanted to, you could build up a used truck to be like the Raptor for less cash, but at least the price of a new Raptor makes some sense and the upgrades really add to the off-road ability of the truck. The Rebel just looks like a sticker and trim package to me.
Obviously, the Ram Rebel’s stickers and tread pattern seats are more valuable than the equipment found on the Raptor!Of course, this is lame and totally inferior when compared to the Rebel.
I suppose that the Rebel isn’t a Raptor competitor though, it’s closer to the FX4 trim. But even then, some stickers, trim pieces, and tread pattern seats aren’t worth $10,000. The FX4 also comes with that locking rear differential, which the guys over at Ram trucks don’t seem to offer (unless you want to pay for a Power Wagon). The price that trucks have been going for lately seems to be going up rapidly. Good luck trying to find a Power Wagon that doesn’t have thousands in extra options. The cheapest new F-150 in San Diego county goes for $31,560. The cheapest Colorado (a mid-size truck) goes for over $30,000. With new vehicle prices being jacked up due to extra accessories, about a quarter of new auto loans have 73-84 month terms. I simply can’t imagine having an auto loan for that long.
What do you think? Is there some value in the Ram Rebel that I’m simply missing? Am I being to judgmental? Let me know what you think in the comments below.
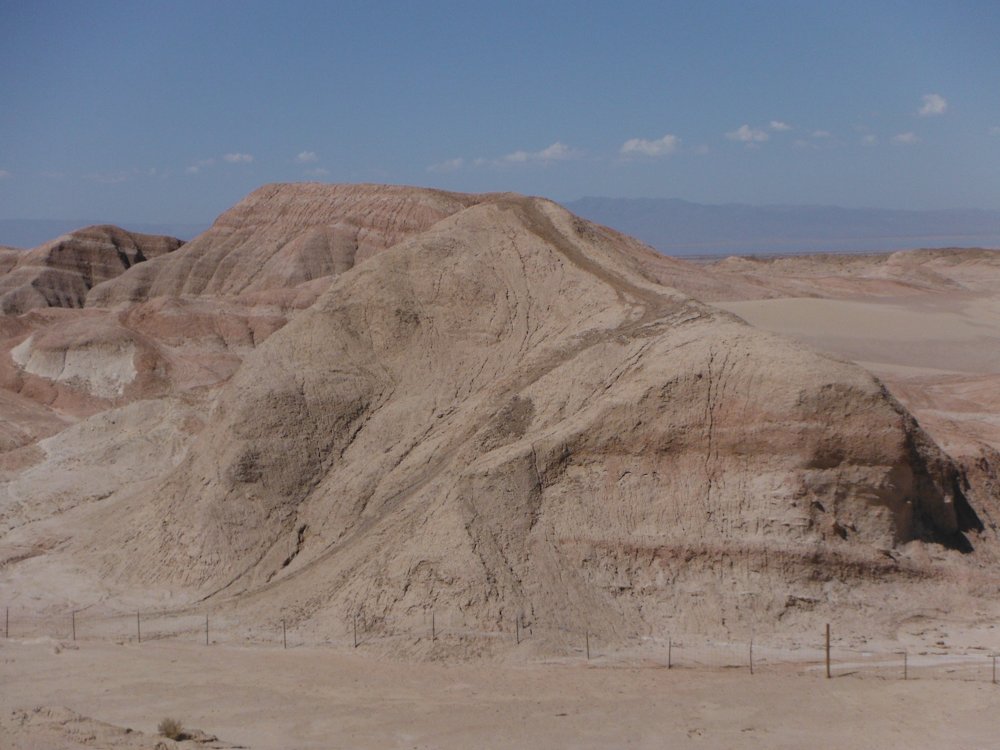
I went through a series of trails in the Ocotillo Wells State Vehicular Recreation Area (SVRA) this last Saturday with some other Tacoma owners. The Ocotillo Wells SVRA is just west of the Salton Sea and is easily accessible by either CA-78, CA-86, or S-22. There are towering sand dunes, numerous geological formations, easy trails, hard trails, and a lot of open space to either methodically crawl or quickly speed through. We passed through the Shell Reef Expressway, Pole Line Road, and the Gas Dome among other places. I’ll post up about other trails soon, but for this one I’ll have mostly just photos from the Gas Dome up.
There are many graded gravel roads that can be used to reach the Gas Dome, just as many more difficult routes may be taken. The Gas Dome is one of the few areas of the Ocotillo Wells SVRA that is partially blocked off to prevent damage to the features of the area. The Gas Dome is near Pole Line Road and trail signs are abundant, so it is relatively easy to find. The Ranger Station has many maps of the Ocotillo Wells SVRA and is a good first place to check out if you’ve never been to the area. Enough of my babbling though, here’s a link to the photos with a few teasers posted below. Enjoy!
A fine explanation for what is happening in the surrounding area.
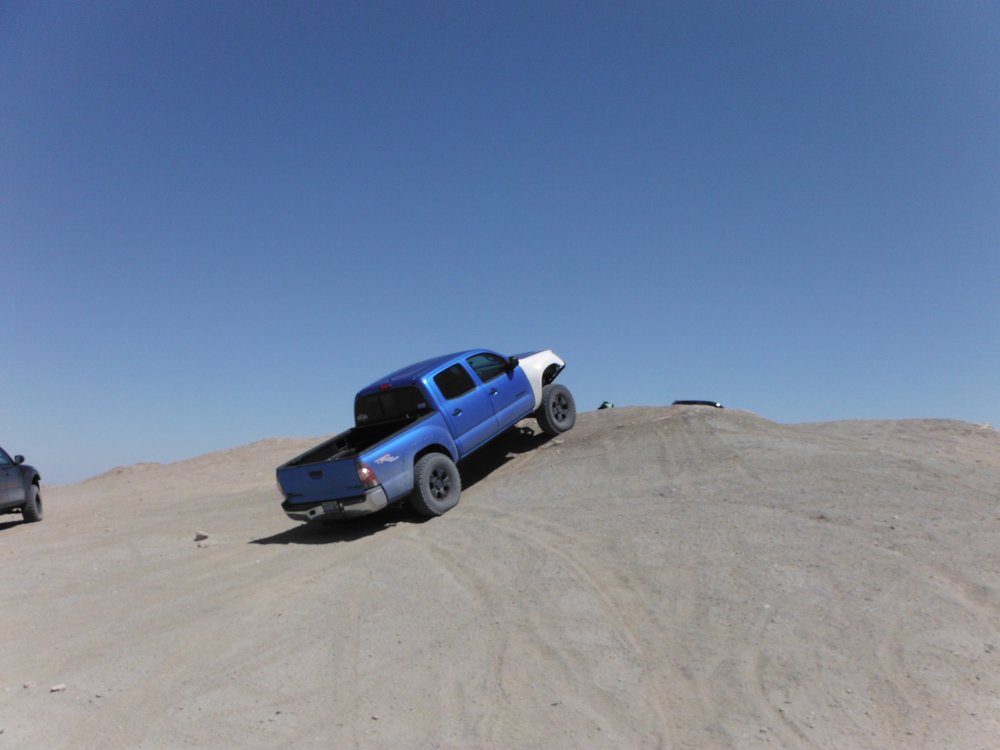
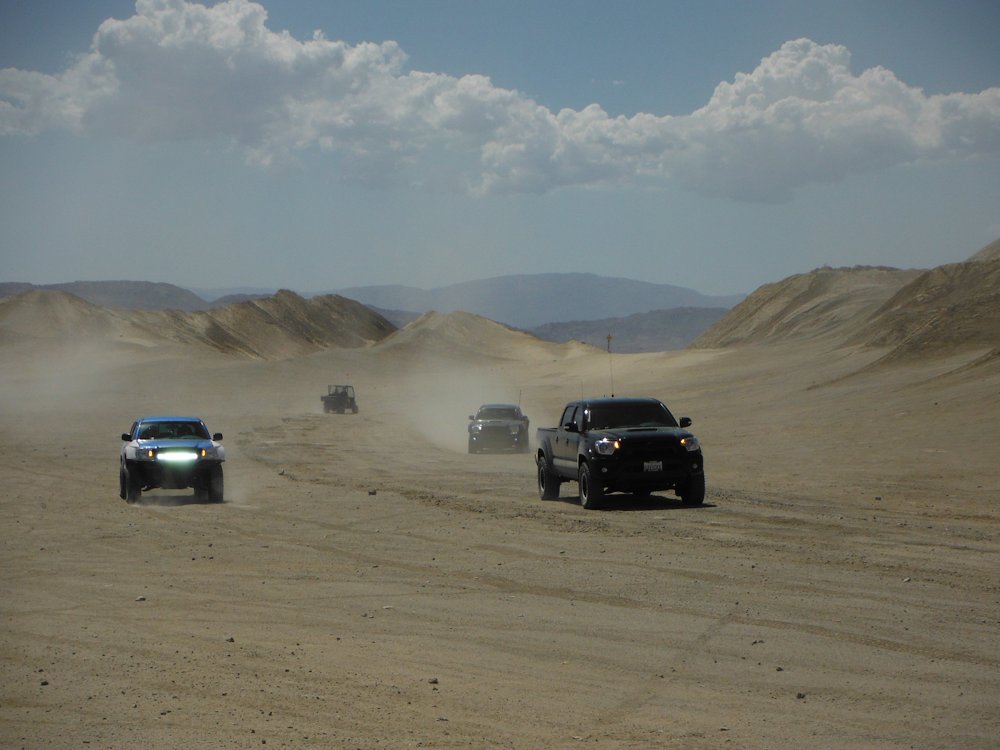
Bonus pictures! Here are some of the other trucks that I went out with.
One of the reasons I haven’t posted as much lately (aside from laziness) is dealing with the Totally Integrated Power Module (TIPM) that’s installed in my Jeep. In less than two years ownership of my 2012 Wrangler I’ve had to replace this device twice. The first time the TIPM failed was in the desert. My dashboard turned into a Christmas tree, the speedometer went to zero, the engine oil temperature meter pegged, and when I plugged the OBDII reader in I pulled numerous faults that amounted to a loss of communication with numerous components. In vain hope I decided to disconnect the battery. I was also an idiot and shorted the terminals together. The dealer noticed this on the battery terminal and claimed that I “cross-jumpered” the battery; as if some current flowing through just the battery terminals should damage the TIPM (without blowing fuses by the way). I was out for about $650 on the part and $300 on labor. It also took two weeks for the part to show up. This happened about six months ago. Here’s the work order for the first TIPM replacement:
Last month, I received several fault codes from the ABS Module (C1246 & C1082), TCM (U0414), and fuel level instrumentation (P0643). These codes are obviously not related and I thought that the TIPM might have failed again. I dropped the Jeep off at the dealership (Midway in San Diego). I got a call the next day asking to drop the fuel tank to check a couple of test points. After showing up in person to explain that they should troubleshoot indications that don’t involve so much time and effort. I also explained how it made little sense for numerous sensors to all fail at the same time. The dealer tech relented and the next day I received a phone call stating that the TIPM failed again. The new TIPM has still not show up and I bought a new-to-me truck, a 2011 Tacoma. The dealer did not offer a courtesy vehicle. I’ll post up what the work order says for this next replacement as soon as my Jeep is fixed. (Update: The work order is posted below. I got a whole 4761 miles out of the second TIPM.) After dealing with rather long wait times to receive this part I decided to look into that matter some more…
The TIPM might just look like a fuse and relay box, but the positive terminal of the battery is connected directly to it and the TIPM is a power switching and control device that controls many settings and supplies power to all peripheral components and systems. The TIPM has a case on the outside (duh), has fuses and automotive relays near the top, then has seven decks of buswork (wires), has a board with several relays and Integrated Circuits (IC’s) that perform the logic operations, and then some sockets near the bottom. The TIPM even controls pulse width modulation for the headlights. And when overcurrent conditions are detected by the circuitry, the TIPM will often just shut off the offending system with no warning. But hey, this device allows the radio to stay on after pulling the key out of the ignition. Just a few photos to get a better idea of what’s in there:
To go along with how not to jump your new Ford Raptor, below is a video on how not to deliver a new truck to the customer. At least this man caught it on tape so the dealer couldn’t make up some magical story. All the employee had to do was back straight out…
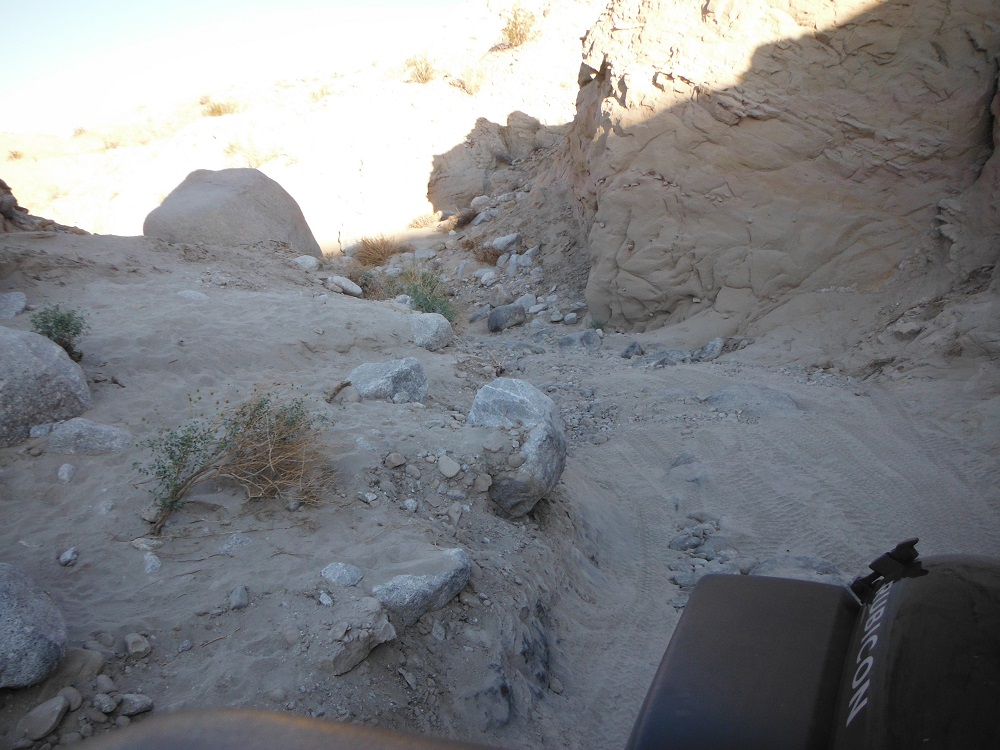
Diablo Dropoff is surrounded by a network of trails in Anza-Borrego Desert State Park. How hard this obstacle/trail is depends greatly upon weather conditions and seismic activity. The first time I went through Diablo Dropoff in 2012, the dropoff was heavily eroded and rutted.This gradually got worse until the dropoff was impassable due to part of the trail collapsing. Sometime later, the trail was restored and the dropoff was pretty mild. As always, the trail is gradually degrading and becoming more interesting to drive through. After going down the dropoff, there a few rocky washes and the trail gets easy again. A good stock 4×4 with some ground clearance should be able to make it through the trail.
Even without the trail being difficult though, the views are spectacular and worth taking a look at even if you don’t drive all the way through. Since their is a lot of seismic activity in the area, don’t spend to much time in the mud caves or under overhangs. Rainstorms can also cause the cliffs to collapse. From the southern end, this trail can be reached by taking S-2, exiting onto Canyon Sin Nombre, heading north and turning right onto Arroyo Seco Del Diablo after about five miles, then turning right after seeing the sign for Diablo Dropoff after about six miles. There are other ways of reaching this trail, which I will happily type up about in due time or for anyone who asks. Here are some of the pictures and look on this page for the rest of them. Enjoy!
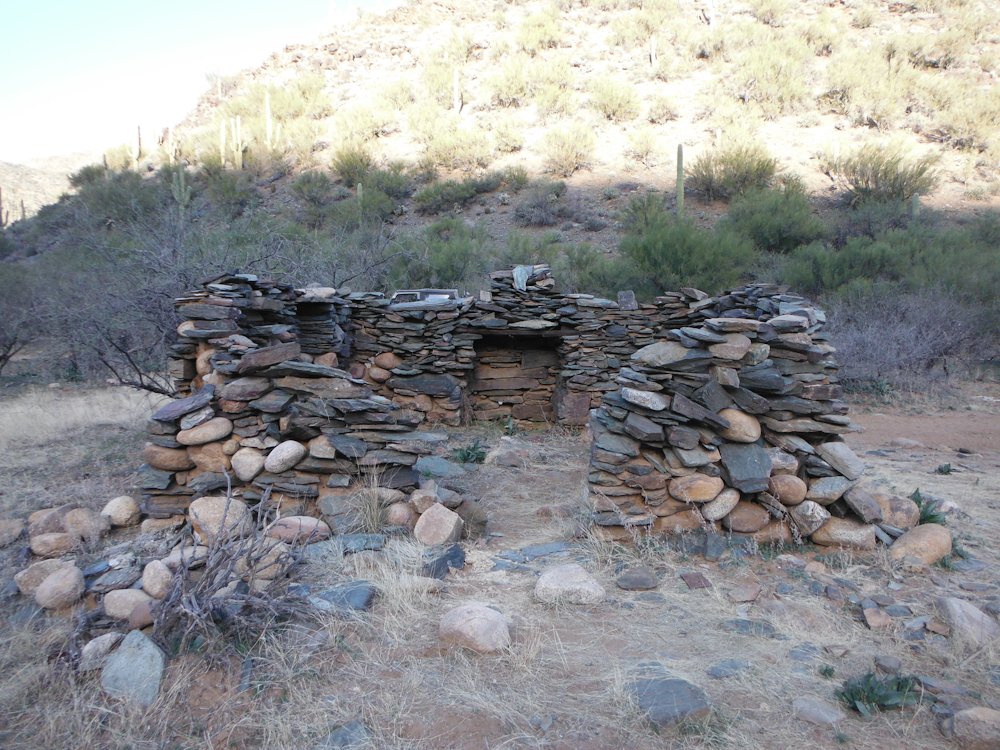
This is yet another trail in Arizona, which is a nice, moderate, and rocky trail. There is one narrow slot that will be harder on wide trucks. You’ll pass through Turkey Creek several times, pass a mining operation, and see some cattle along the way. This trail also has some old ruins, plenty of interesting flora, and awesome rock formations. The north end of this trail hits a little town called Cleator. Not many people live there, but there is a bar and a few cabins for rent. The whole area is pretty cool in general. This trail can be reached from it’s southern end by taking exit 248 off I-17, heading north along Crown King Road, and staying to the left when the road branches toward Mayer. I reached this trail from Black Canyon Creek and there are also many ways to reach it from the north end. Enjoy the photos! Look on this page for the rest of them.
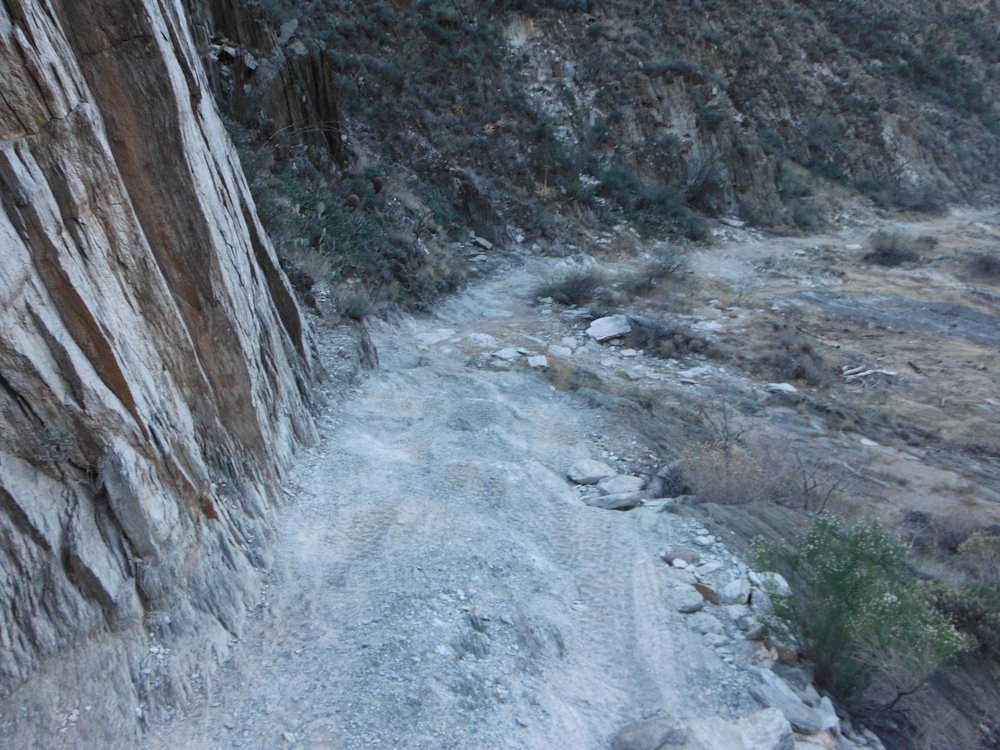
These photos are from a trail in Arizona that’s north of Phoenix on the west side of I-17. This trail is rocky, steep, difficult, and should only be accomplished by an experienced driver. Short-wheelbase vehicles will have an advantage in this terrain. Mistakes can easily lead to rollovers on the more tippy spots. This trail is also a lot of fun, has beautiful scenery, and is one of the better trails I’ve been on. I used I-17 to reach the general area, then took Exit 244, headed north, then west on the trail from Maggie Mine Road, and turned right at the Y-intersection. Just understand that there are several ways to reach this trail. The left turn is meant for an ATV or side-by-side. If you pass a mining claim don’t steal from it, just enjoy the scenery. I hope that you like the photos, click here to look at all of them.
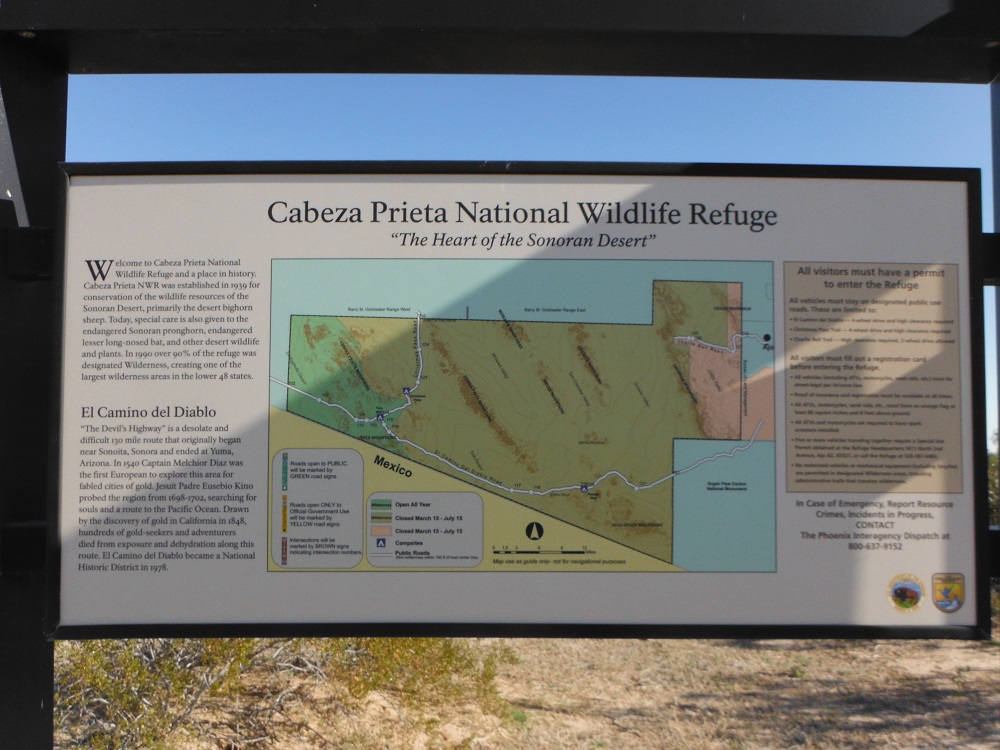
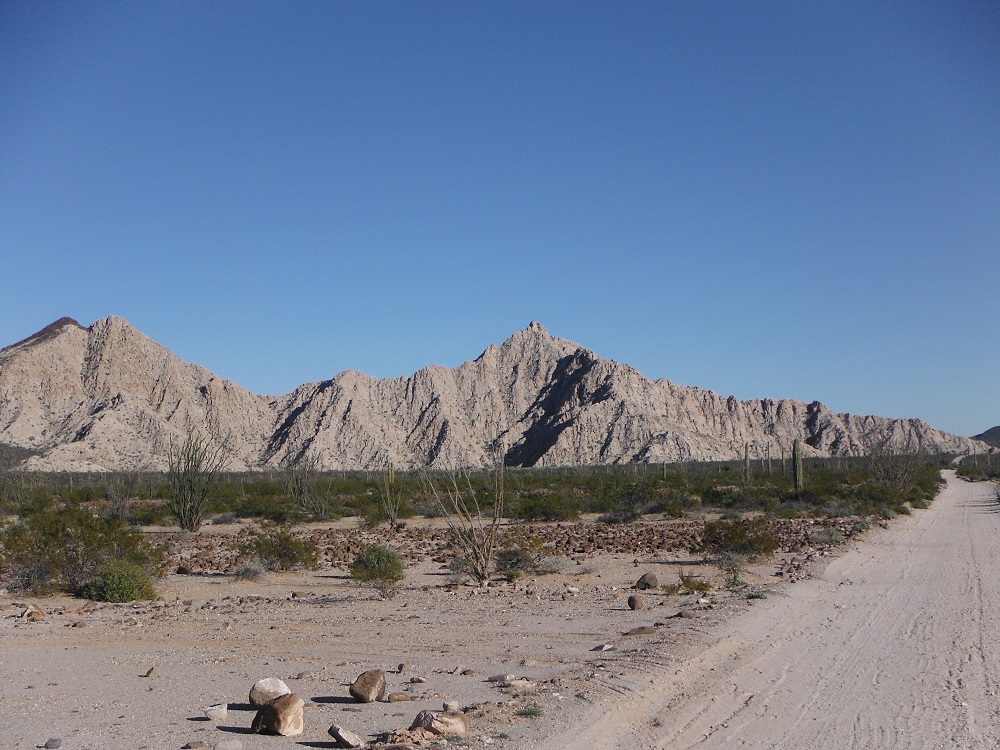
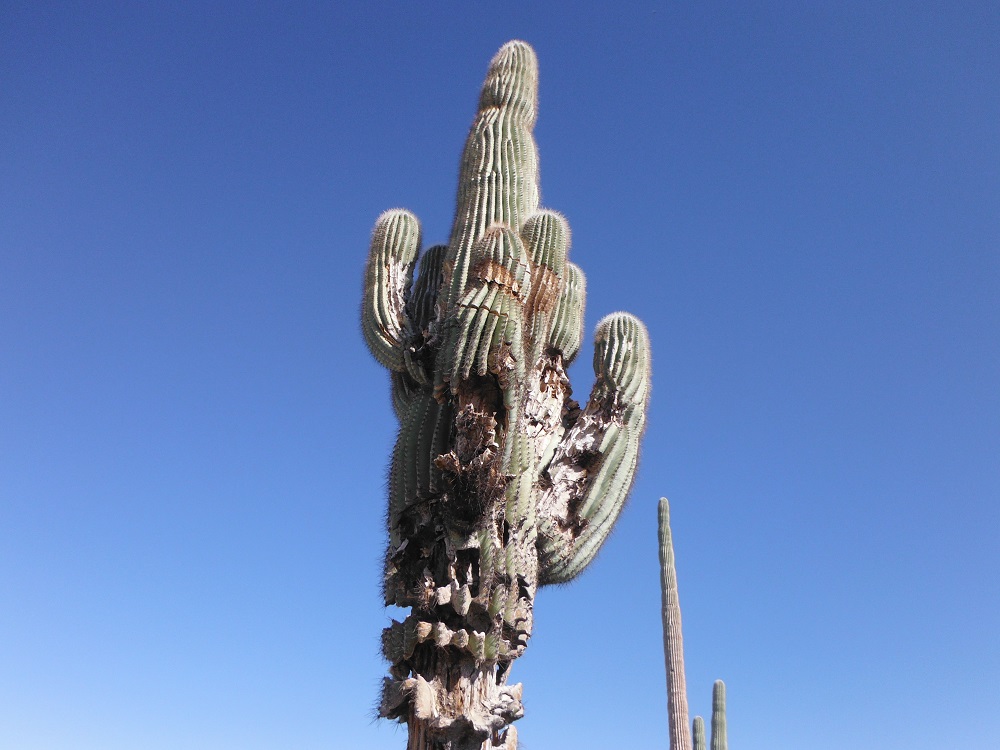
This trail is another trail that you would take more for the scenery rather than the difficulty. While this trail does have some extremely dusty spots and a few rocks it’s a relatively easy trail to pass through. There are lots of old ruins, lots of beautiful cacti, and plenty of interesting geological formations to stand in awe of. Much of this trail is only a few miles north of the Mexican border and also runs along the Barry M. Goldwater Range. Do not enter the live fire range. A permit is required to pass through the trail which can be received at the Marine Corps Air Station, Yuma on the west side or Cabeza Prieta N.W.R. in Ajo on the east side. Look here for more information on the Cabeza Prieta National Wildlife Refuge. I took I-8E, got off at exit 14, took S. Frontage Road east until I turned south on South Ave. 15 East which then turned into a dirt road that wound through the La Fortuna Mine to reach this trail.
You’ll find a large number of water stations and emergency beacons along the trail, though during my time through I didn’t pass any illegal aliens. This trail is also frequently patrolled and there is a Border Patrol station near the east end. Enjoy the photos, click here to take a look at all of them.
Font’s Point isn’t reached by any hardcore trails, but is still quite a beautiful sight to behold. Font’s Point is east of Borrego Springs, CA and can be reached by S-22 and then taking a graded sand road a few miles south. It doesn’t take much of a vehicle to reach Font’s Point, just a little momentum and ground clearance will get anything through to the breathtaking views available. I hope that you enjoy all of the photos! You’ll find more on this page.